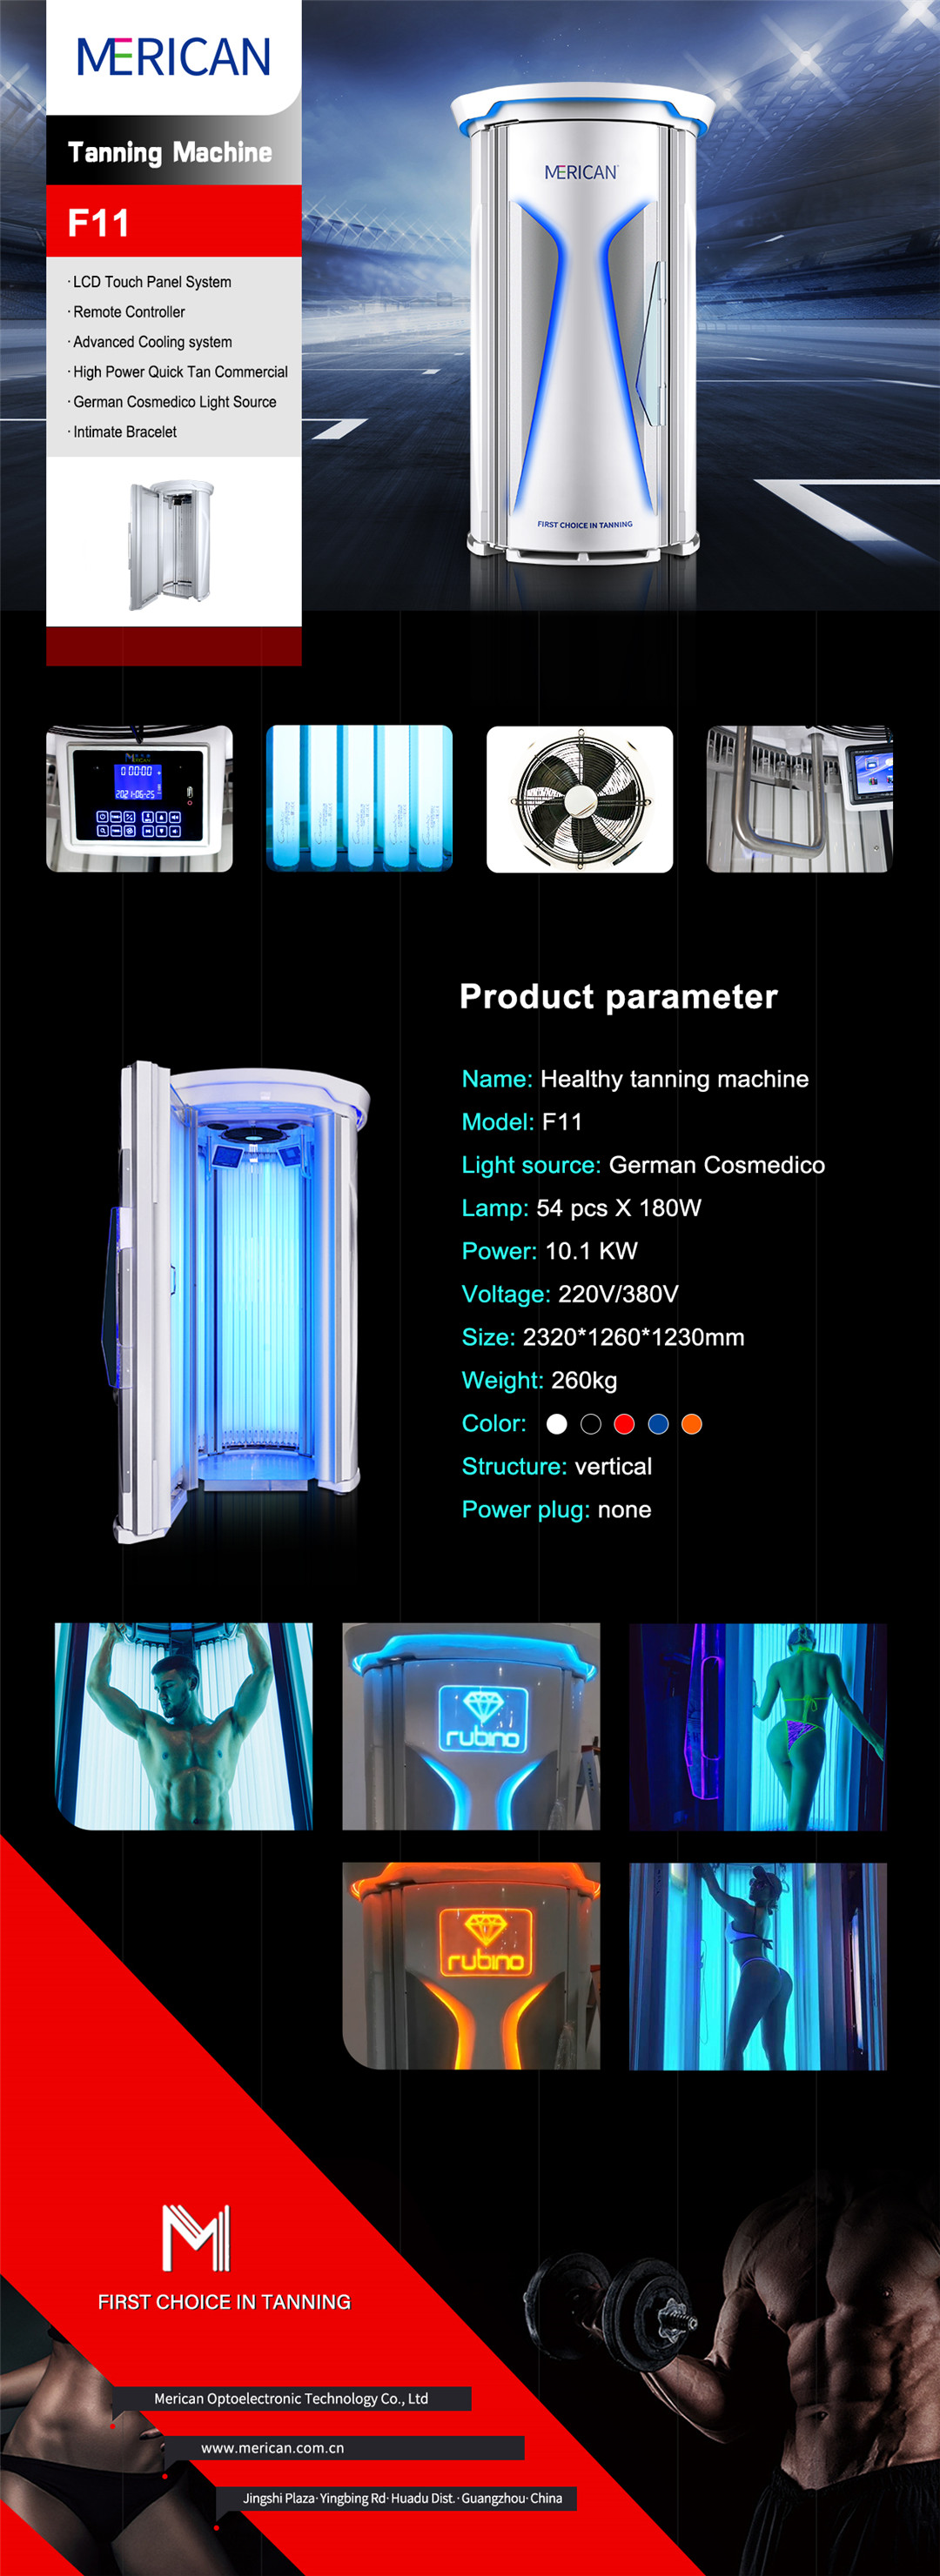
High Quality for Tanning Bed - commercial stand up tanning booth F11 – Merican Detail:
Overview
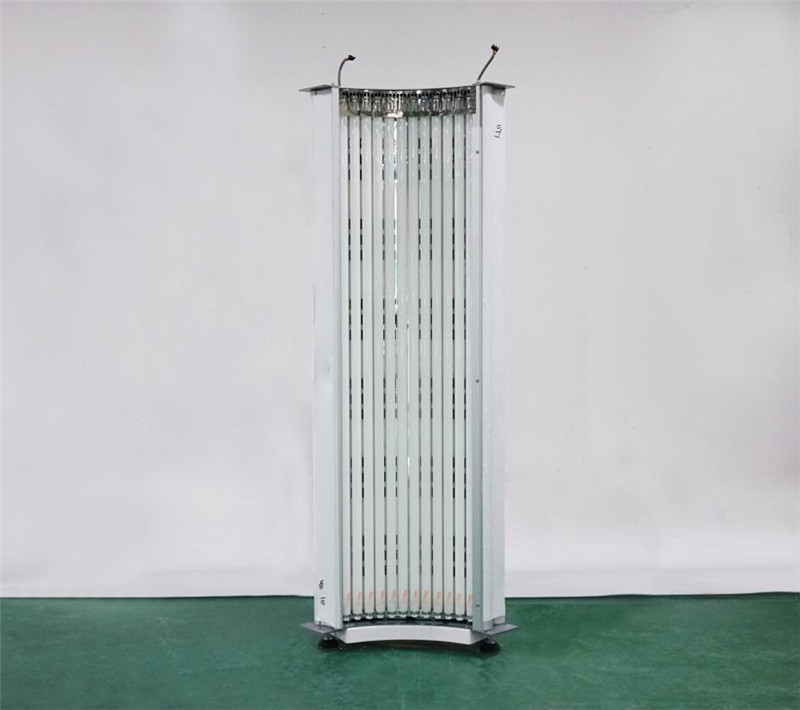
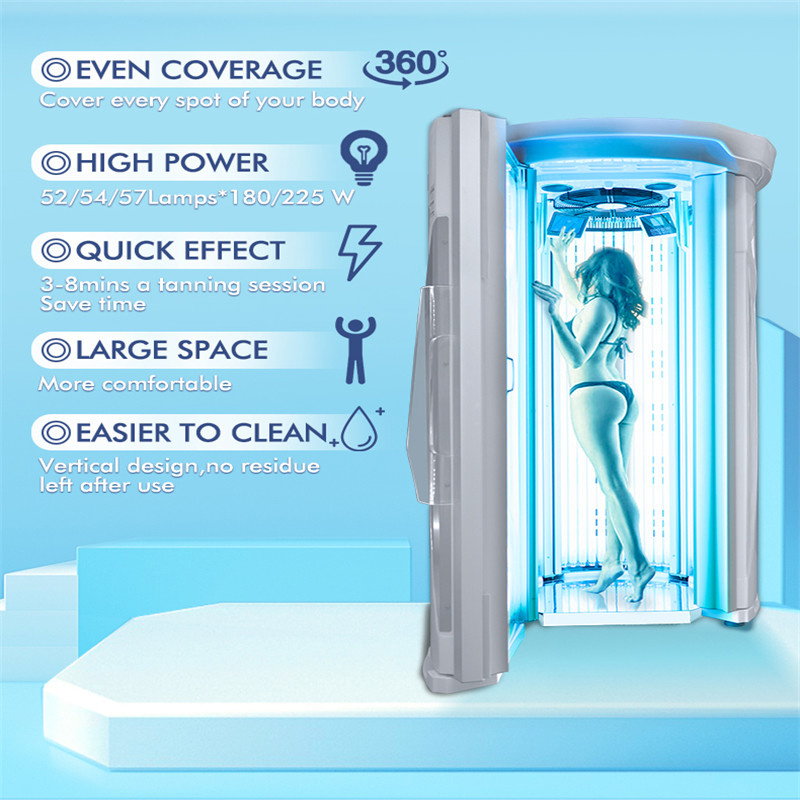
The MERICAN F11 series of solarium machines adopts the European fashionable vertical super large space design, with a simple and elegant appearance, showing technology and fashion. The design of the vertical full capsule is more powerful and efficient, greatly increases the space for internal illumination, and is more ergonomic. It can freely convert the illumination angle to make the skin exposure more evenly. Combined with the fresh air circulation system, the external fresh air is discharged around the body from bottom to top, which greatly improves the comfort of the human body. In addition, the vertical design reduces the skin contact between the equipment and the human body, reduces the difficulty of cleaning the equipment, and is very flexible and convenient.
Feature
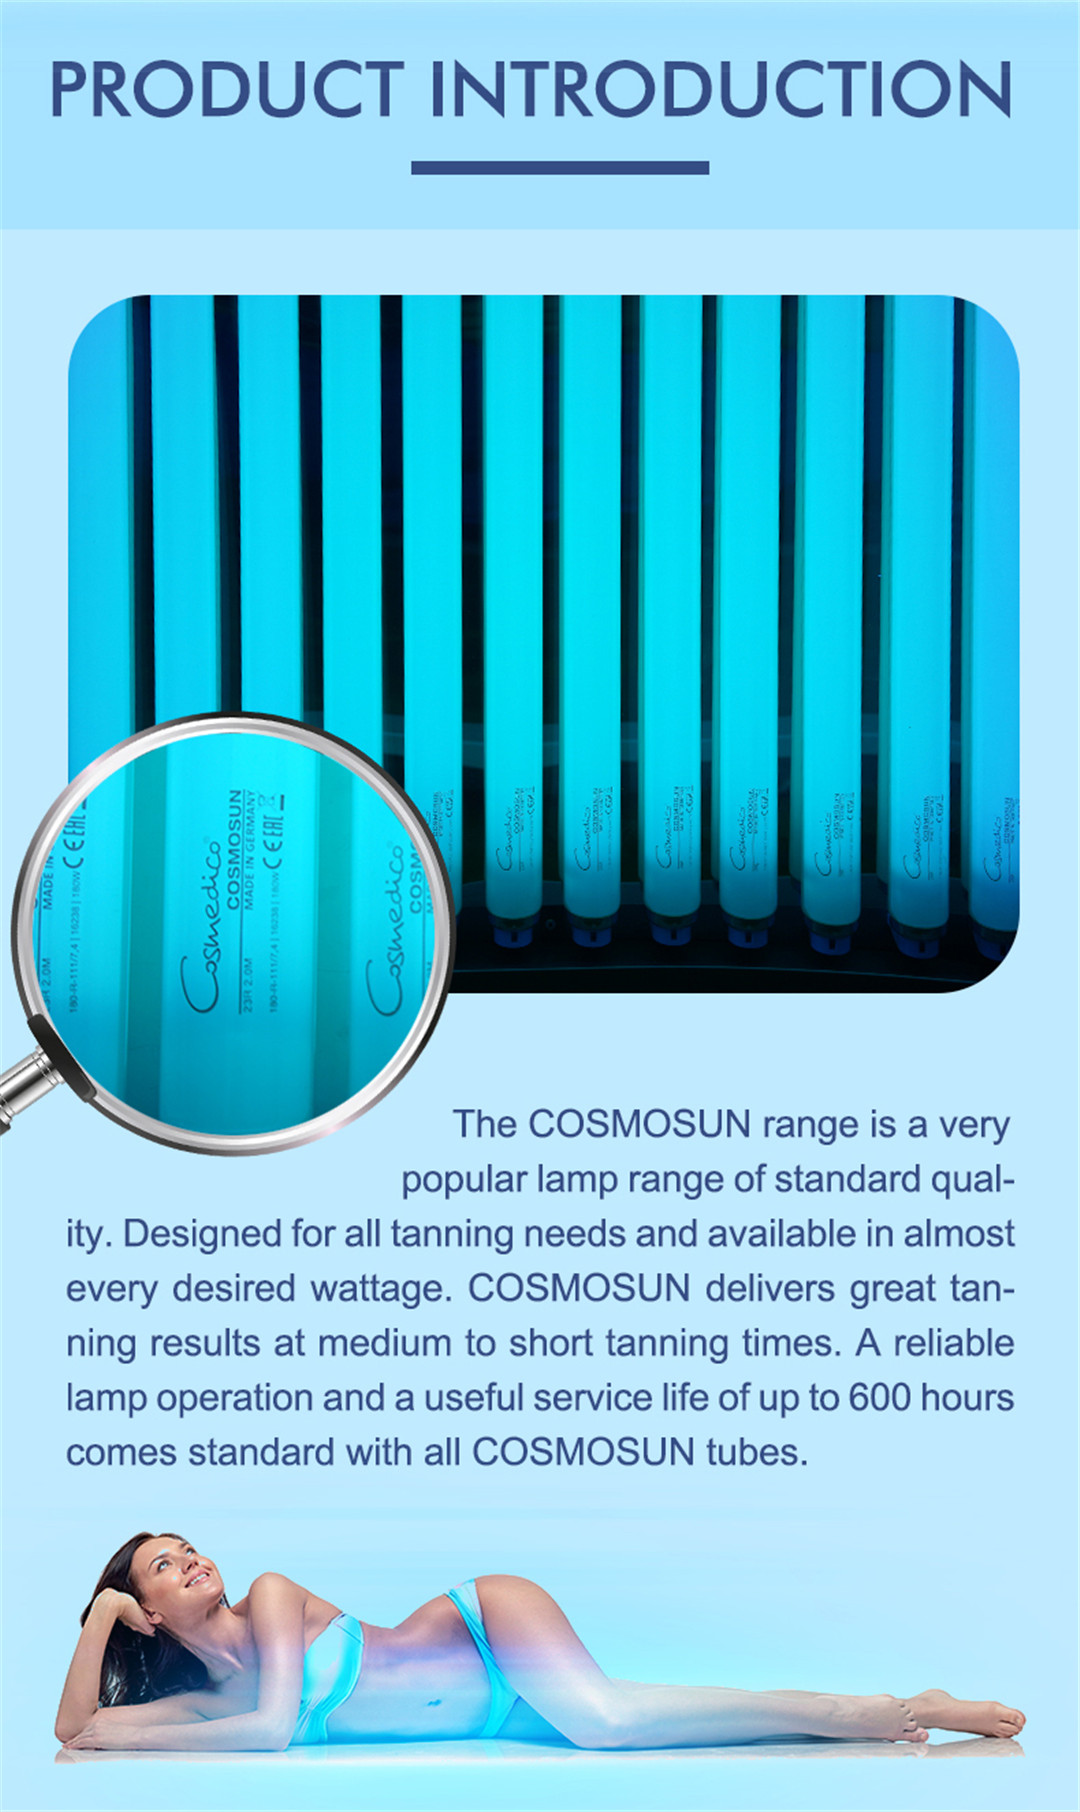
1.Cosmedico tanning light source imported from Germany is used, which is safe and stable, and can be colored quickly and evenly;
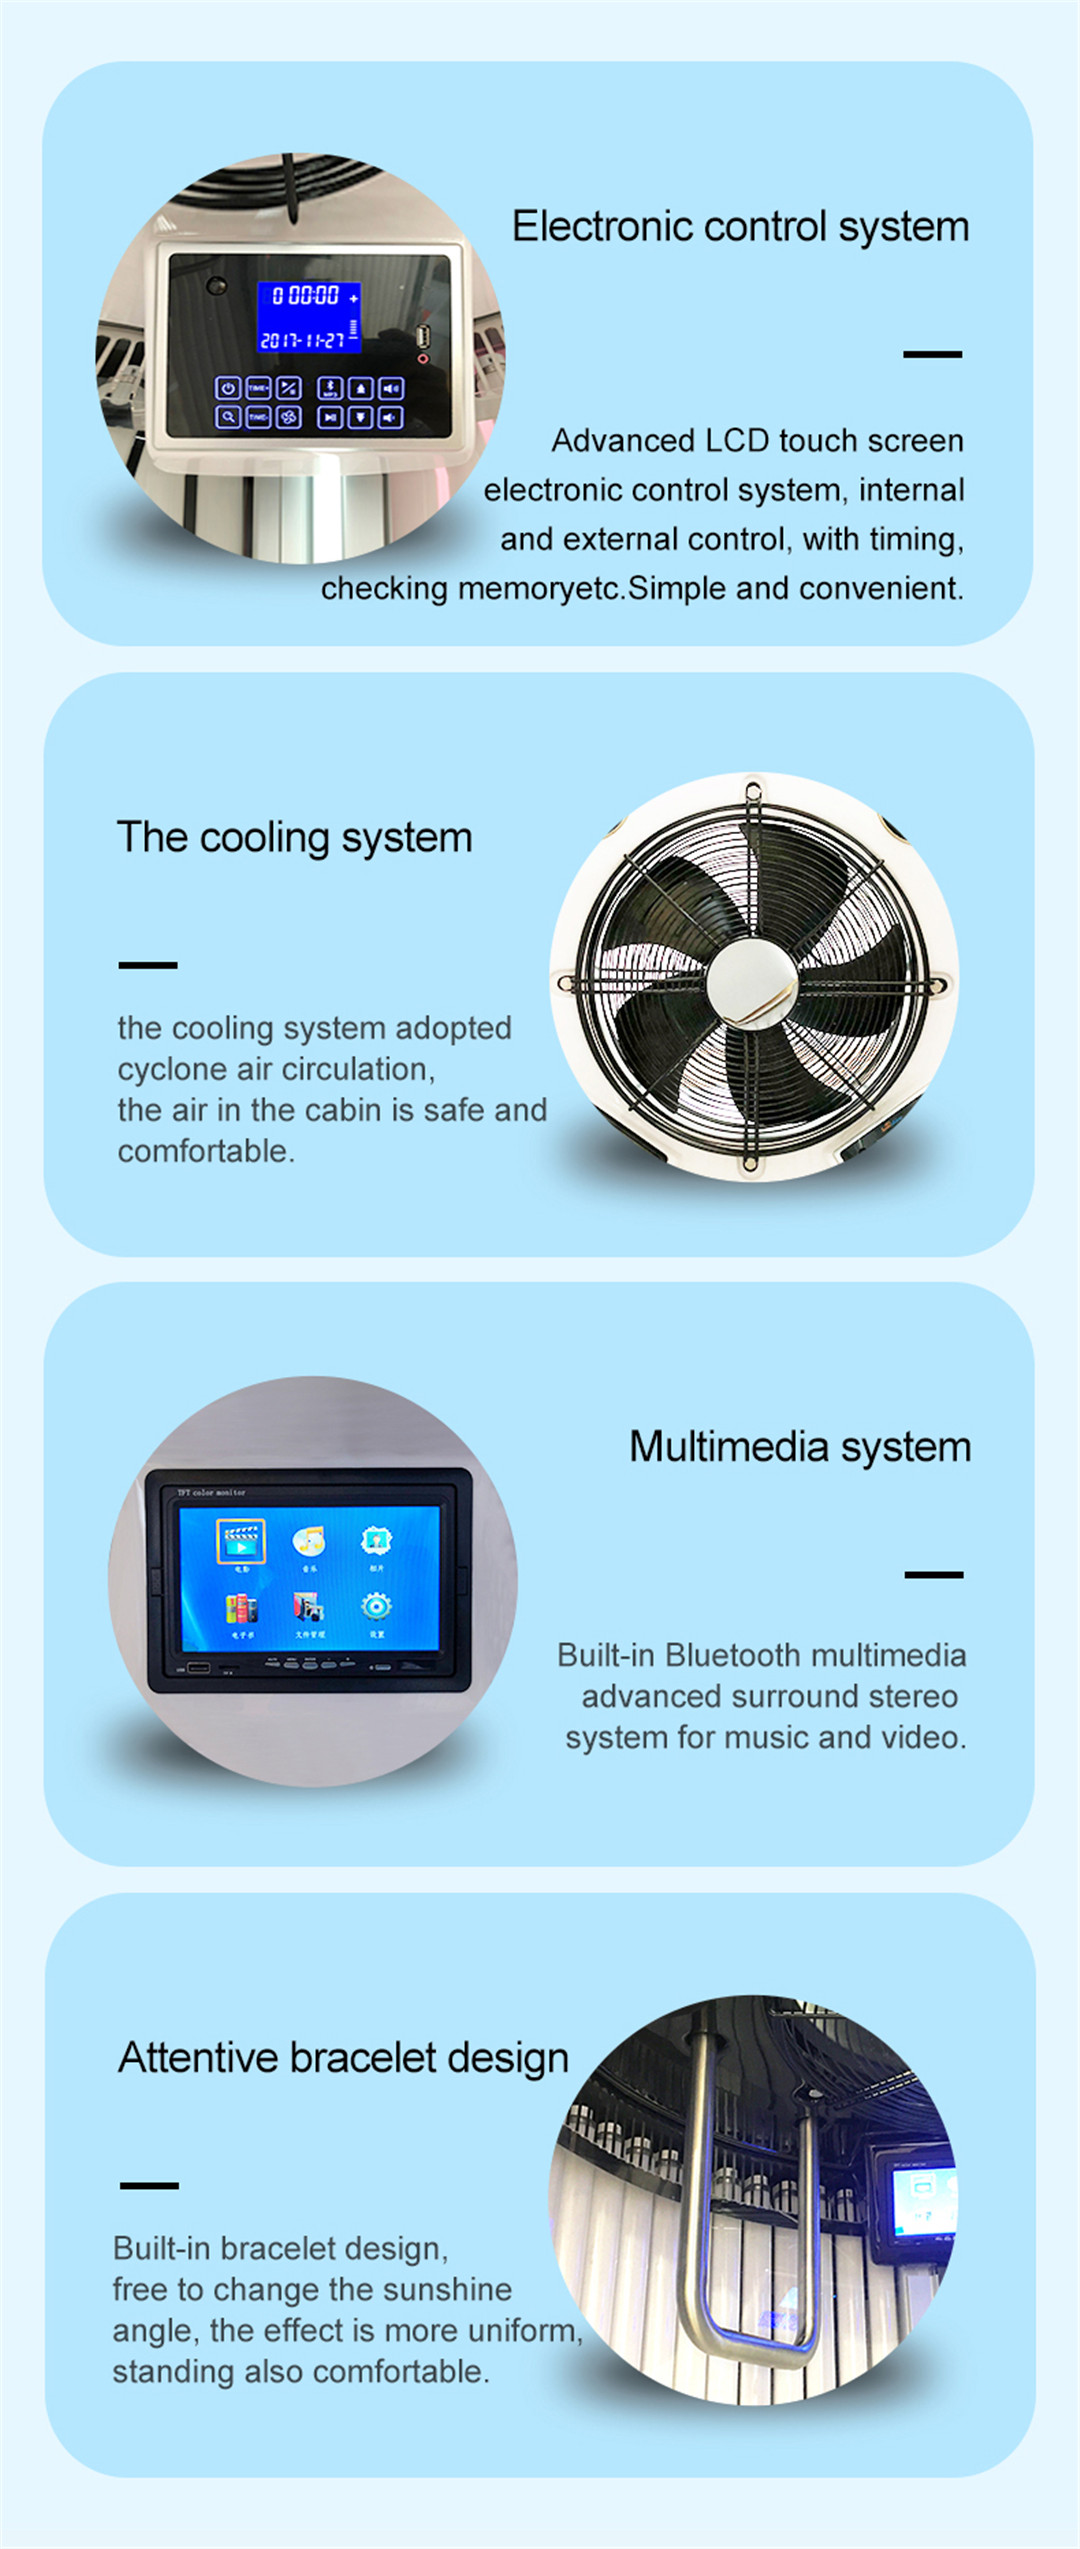
2.The fresh air circulation system with patented technology is adopted, and the fresh air exchange volume reaches 4900M3/h so that the external fresh air is discharged around the body from bottom to top, making people feel comfortable in the space;
3.Independent circuit protection system: base, and body separation technology, effectively ensure the safety of operators and users;
4.The unique EXtruded aluminum and steel mainframe structure is adopted, which greatly improves the stability of the fuselage;
5.Originating from European design, the structure is advanced and tight, seamless, and the use process is safe, private, and comfortable;
6.Scientific and perfect control system, with functions such as timing, query, memory, and wireless control;
7.The advanced fan delay function ensures that the machine will enter the next work after cooling down completely;
8.Equipped with a surround sound system that supports Bluetooth;
9.Imported ABS engineering plastics and aviation aluminum materials are used, which are light, safe, and stable;
10.Equipped with advanced high-power ballast, stable performance, and long service life.
Parameters
|
Item Model |
F11 |
||
|
Light Source |
German Cosmedico Cosmosun |
||
|
Plus |
Without |
||
|
Panel Color |
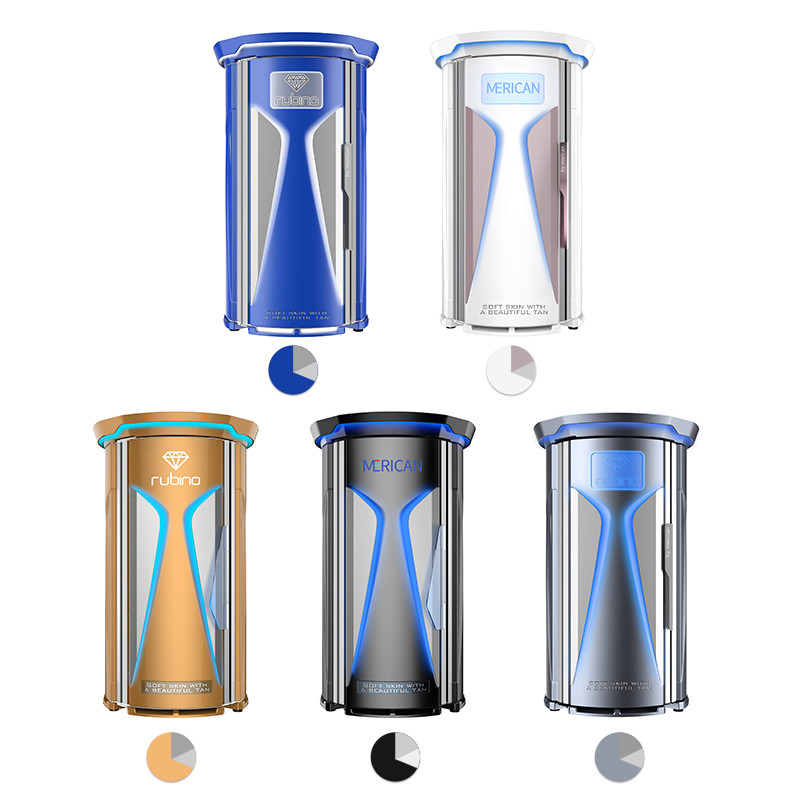
Black | White | |
||
|
Cooling Device |
Overhead Three Gears Direct Air Flow System |
||
|
Structure |
Vertical, Separated base, Seamlessly Structure |
||
|
Control System |
Intelligent Control System, Pad Wifi Control System |
||
|
Light Qty |
54 Tubes *180W |
54 Tubes *225W |
57 Tubes *225W |
|
Output Power |
9.8KW |
12.2KW |
12.8KW |
|
Current(380V) |
25A |
32A |
34A |
|
Ballast |
26 PCS Electronic Ballast |
54 PCS Magnetic Ballast |
57 PCS Magnetic Ballast |
|
Size |
L1400 * W1400 * H2400 mm |
||
|
N.W. |
310Kg |
||
Assembly and Installation
1.Installation Steps
1.1 The back part of the machine
Stand up the rear part of the machine first, and stabilize it with two people.
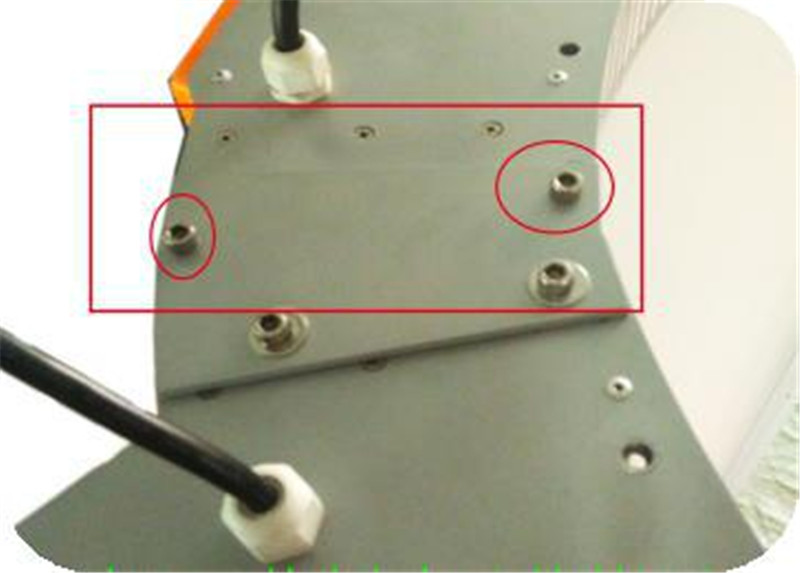
1.2 Install the Right Panel
A. Lift the right panel to the back panel, align the holes, put the screw into the lower inner hole, and two people hold it steady to avoid the machine from tilting or falling.
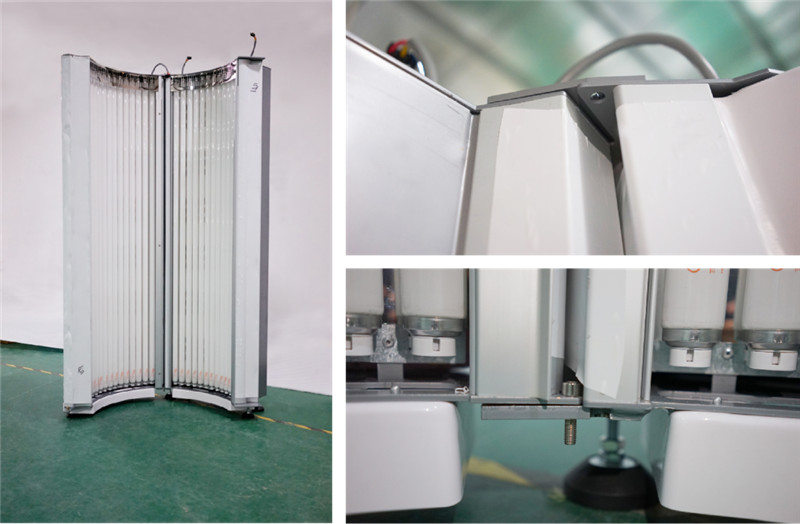
B. Align the right panel with the corresponding holes on the top of the back panel of the machine, hold them firmly by two people to prevent the machine from falling, and put the screws in.
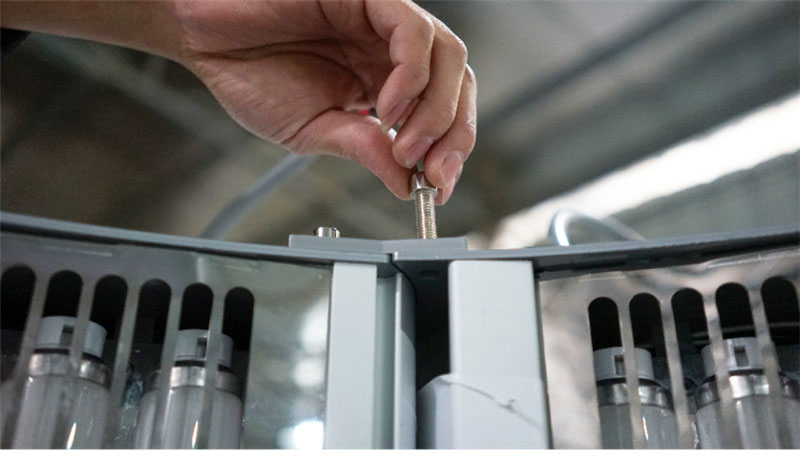
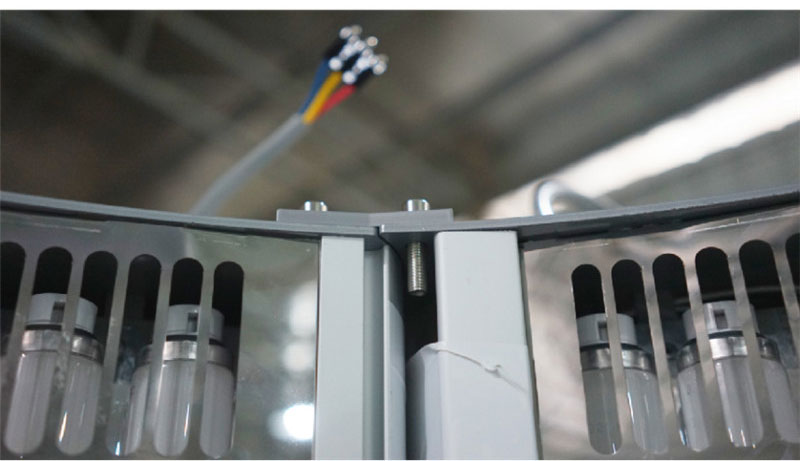
C. Insert the screws in the other holes in the upper and lower parts in sequence, and tighten them with a hexagonal wrench.
1.3 Install the left part of the machine;
Connect the left part of the machine with the corresponding hole on the rear part of the machine, and install it according to the 1.2.
1.4 Install the front door of the machine;
A. The holes at the bottom of the door must be aligned with the screws at the bottom of the right part of the machine. (Only by aligning the door with the hole on the right, can the door stand up and align with the machine as a whole, this is very important)
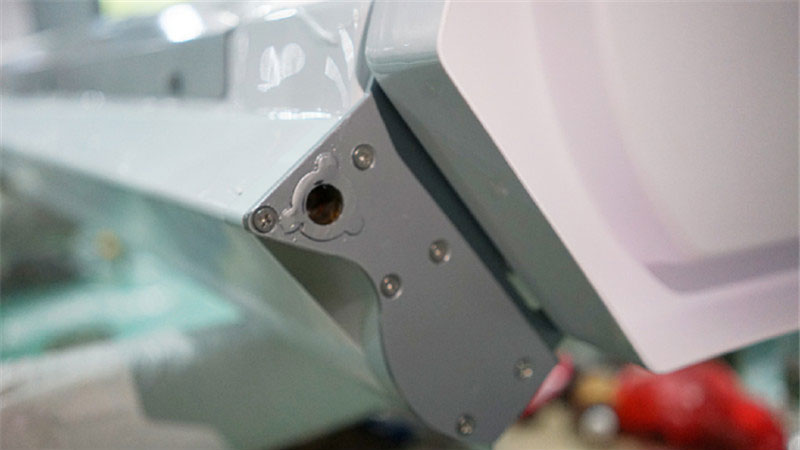
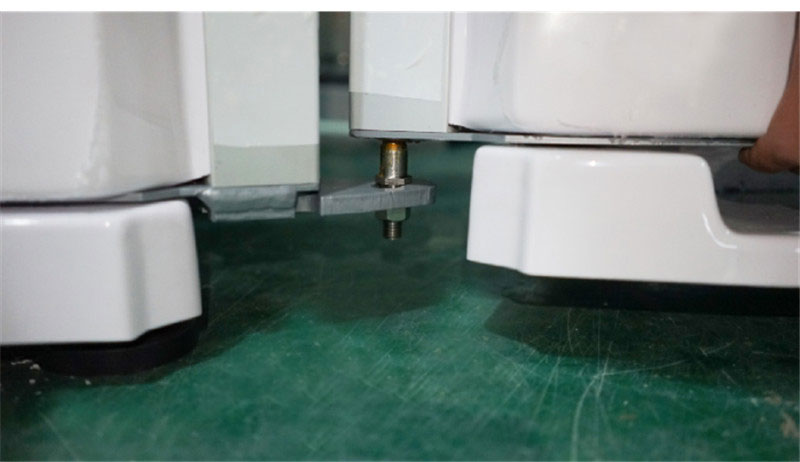
B. Align the holes on the top of the door with the top right of the machine and tighten the four screws with the hex tool.
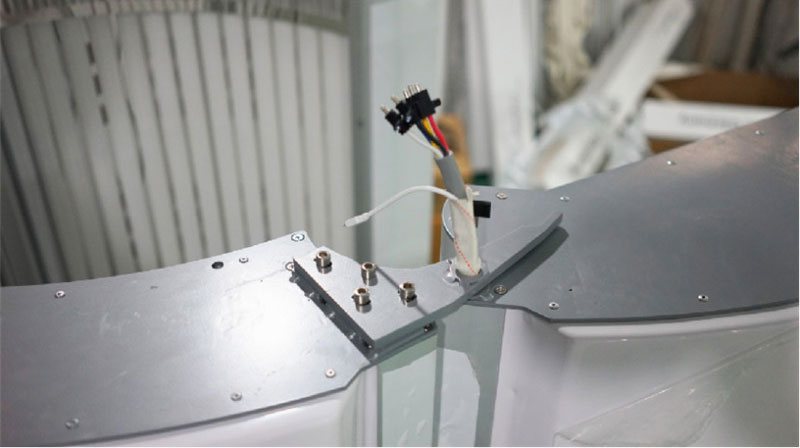
1.5 Install the top cover of the machine
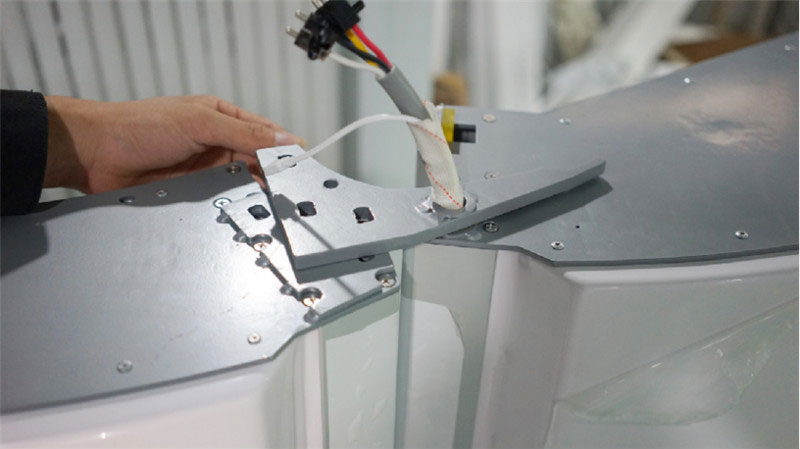
A. Remove the top cover screws first, then remove the top cover’s cover, and take out the connecting wires.
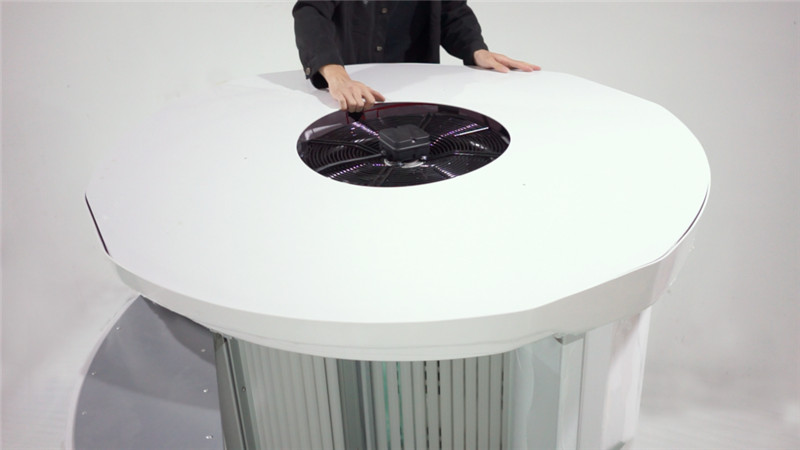
B. Next install the top cover: Lift the top cover with two people and slowly move it over the machine. There should be another person stand on the ladder and grab the top cover from above to prevent it from falling; align the holes of the top cover with the holes on both sides of the machine, then fasten the top part of the machine to the side, and the top part of the machine is installed.
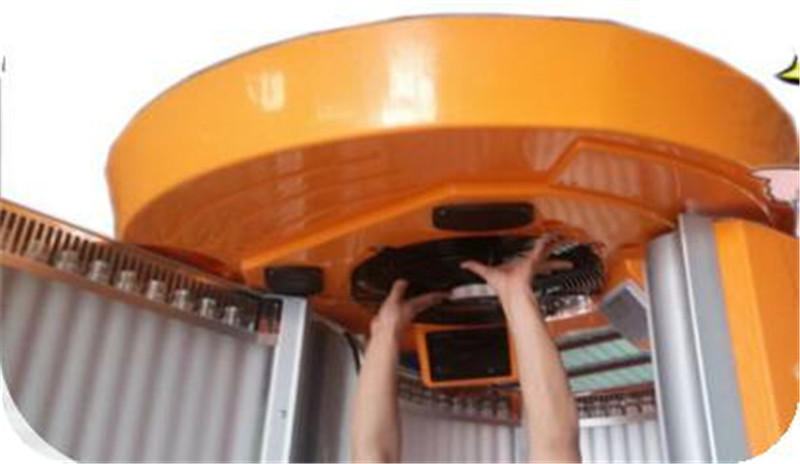
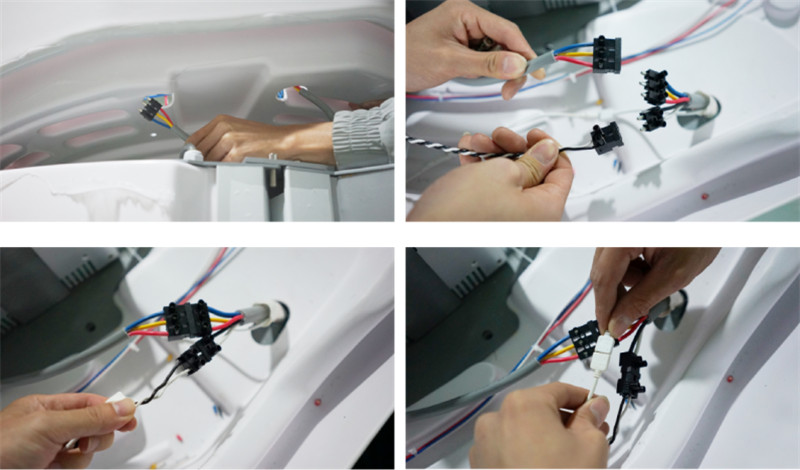
C. Correctly connect the power cords of all parts of the machine to the top cover power plug. There are 5 power cord plugs on the top cover that are connected to each part of the fuselage (one line for the door, two lines for the back, one line on the left, and one line on the right). Finally, install the dust-proof plate and install the screws.
1.6 Install the machine base
Put the machine base directly into the machine, and adjust the level through the base balance bolt, as shown in the figure below. At this point, the installation of the machine has been completed.
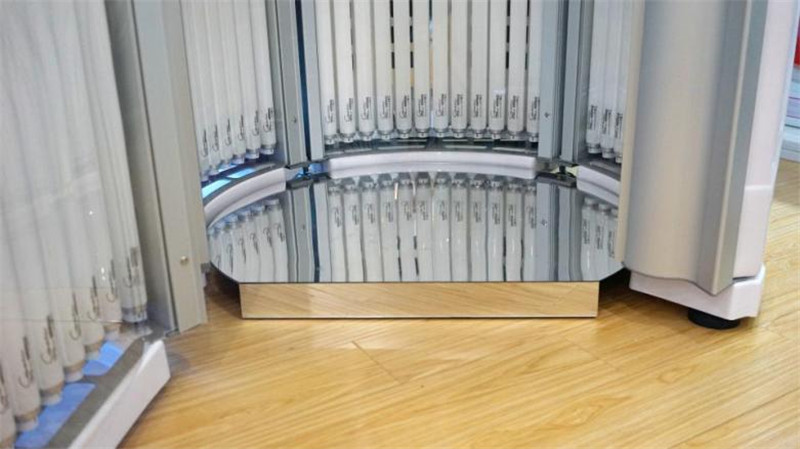
2.Replacing the lamp (adjusting the lamp)
In order to ensure the maximum tanning effect of the machine, after a period of use, if the lamp does not light up or the tanning effect is slow, to ensure the normal operation of the healthy tanning machine, the lamp needs to be replaced.
2.1 There is an aluminum sheet on the left and right sides of each part of the machine, remove the 3 screws from the aluminum sheet, and then remove the aluminum sheet (only need to remove one side).
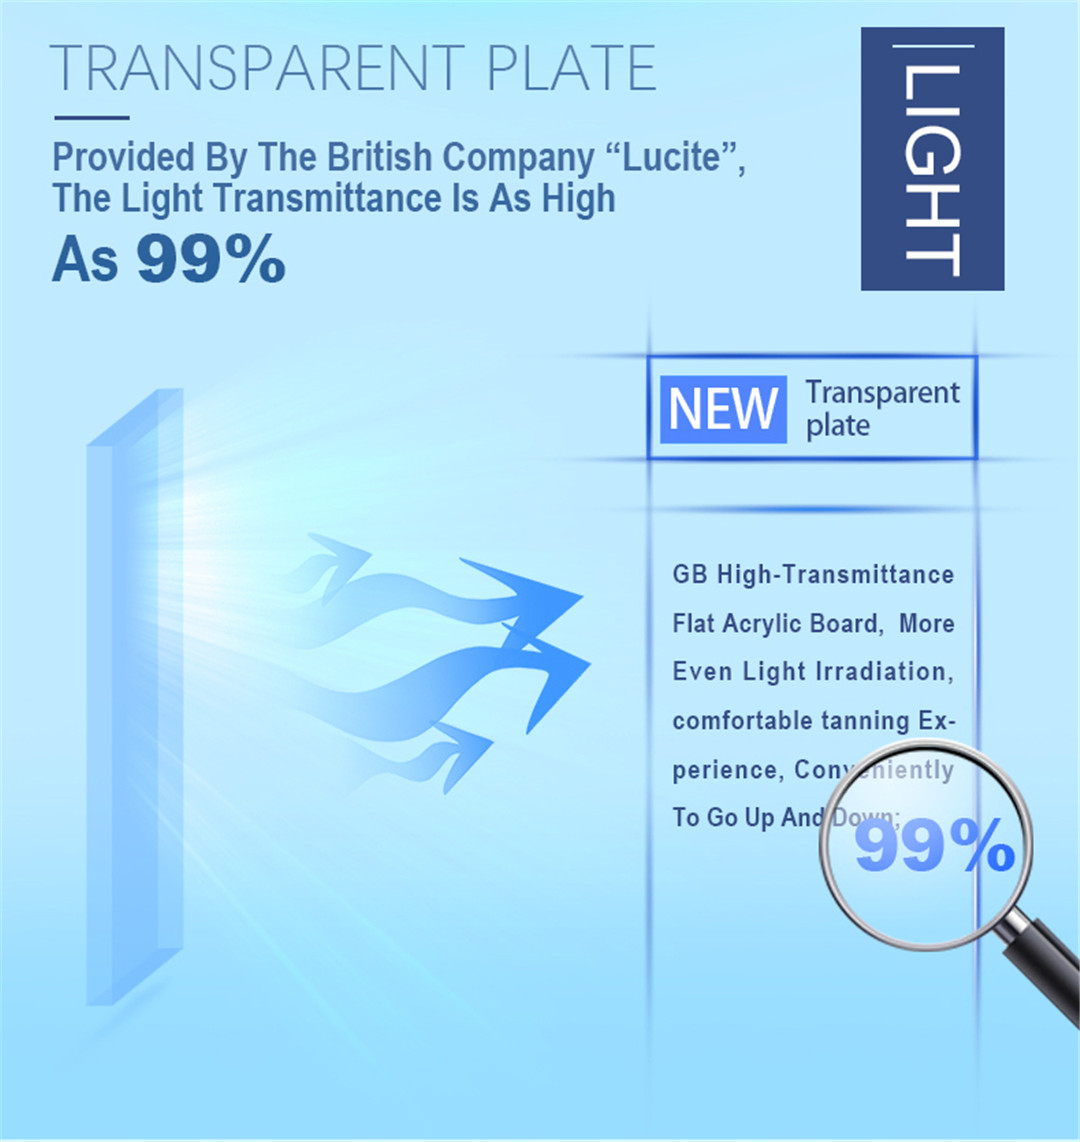
2.2 Take off the acrylic plate.
2.3 Hold the lamp need to be replaced and rotate it a quarter turn, and then remove it.
2.4 Insert the new lamp’s pin into the slot on the lamp holder, and turn the lamp tube a quarter turn after inserting both sides. (If the lamp is not work and cannot confirm whether the lamp is damaged, you can debug, remove the one that is not bright, and change the installation position for the one that is on, and then turn on the machine to confirm the condition of the lamp.)
2.5 Slide the acrylic glass plate removed in Step 2 into the aluminum sheet of the bracket door(left, right or back) part, then fix it from the other side, and then follow the Step 1 to remove the aluminum bar and screws.
Product detail pictures:




Related Product Guide:
"Control the standard by the details, show the power by quality". Our business has strived to establish a highly efficient and stable team staff and explored an effective good quality regulate course of action for High Quality for Tanning Bed - commercial stand up tanning booth F11 – Merican , The product will supply to all over the world, such as: Atlanta, Melbourne, Wellington, To work with an excellent products manufacturer, our company is your best choice. Warmly welcome you and opening up the boundaries of communication. We are the ideal partner of your business development and look forward to your sincere cooperation.
A good manufacturers, we have cooperated twice, good quality and good service attitude.

